I’ve owned several Jeeps over the years, and have performed suspension work on each and every one with varying degrees of frustration. On some, the springs would practically fall out on their own, while others required a herculean effort of prying, kicking, cutting, torching, and hair-pulling.
Although the task at hand would be similar in concept for a classic Land Rover, I wasn’t acquainted with the tricks and potential gotchas. To get a baseline understanding of the procedure, I turned to YouTube, and found this wonderful, no frills video.
Thank you for the confidence-inspiring video, Phil Uys!
Survey the situation
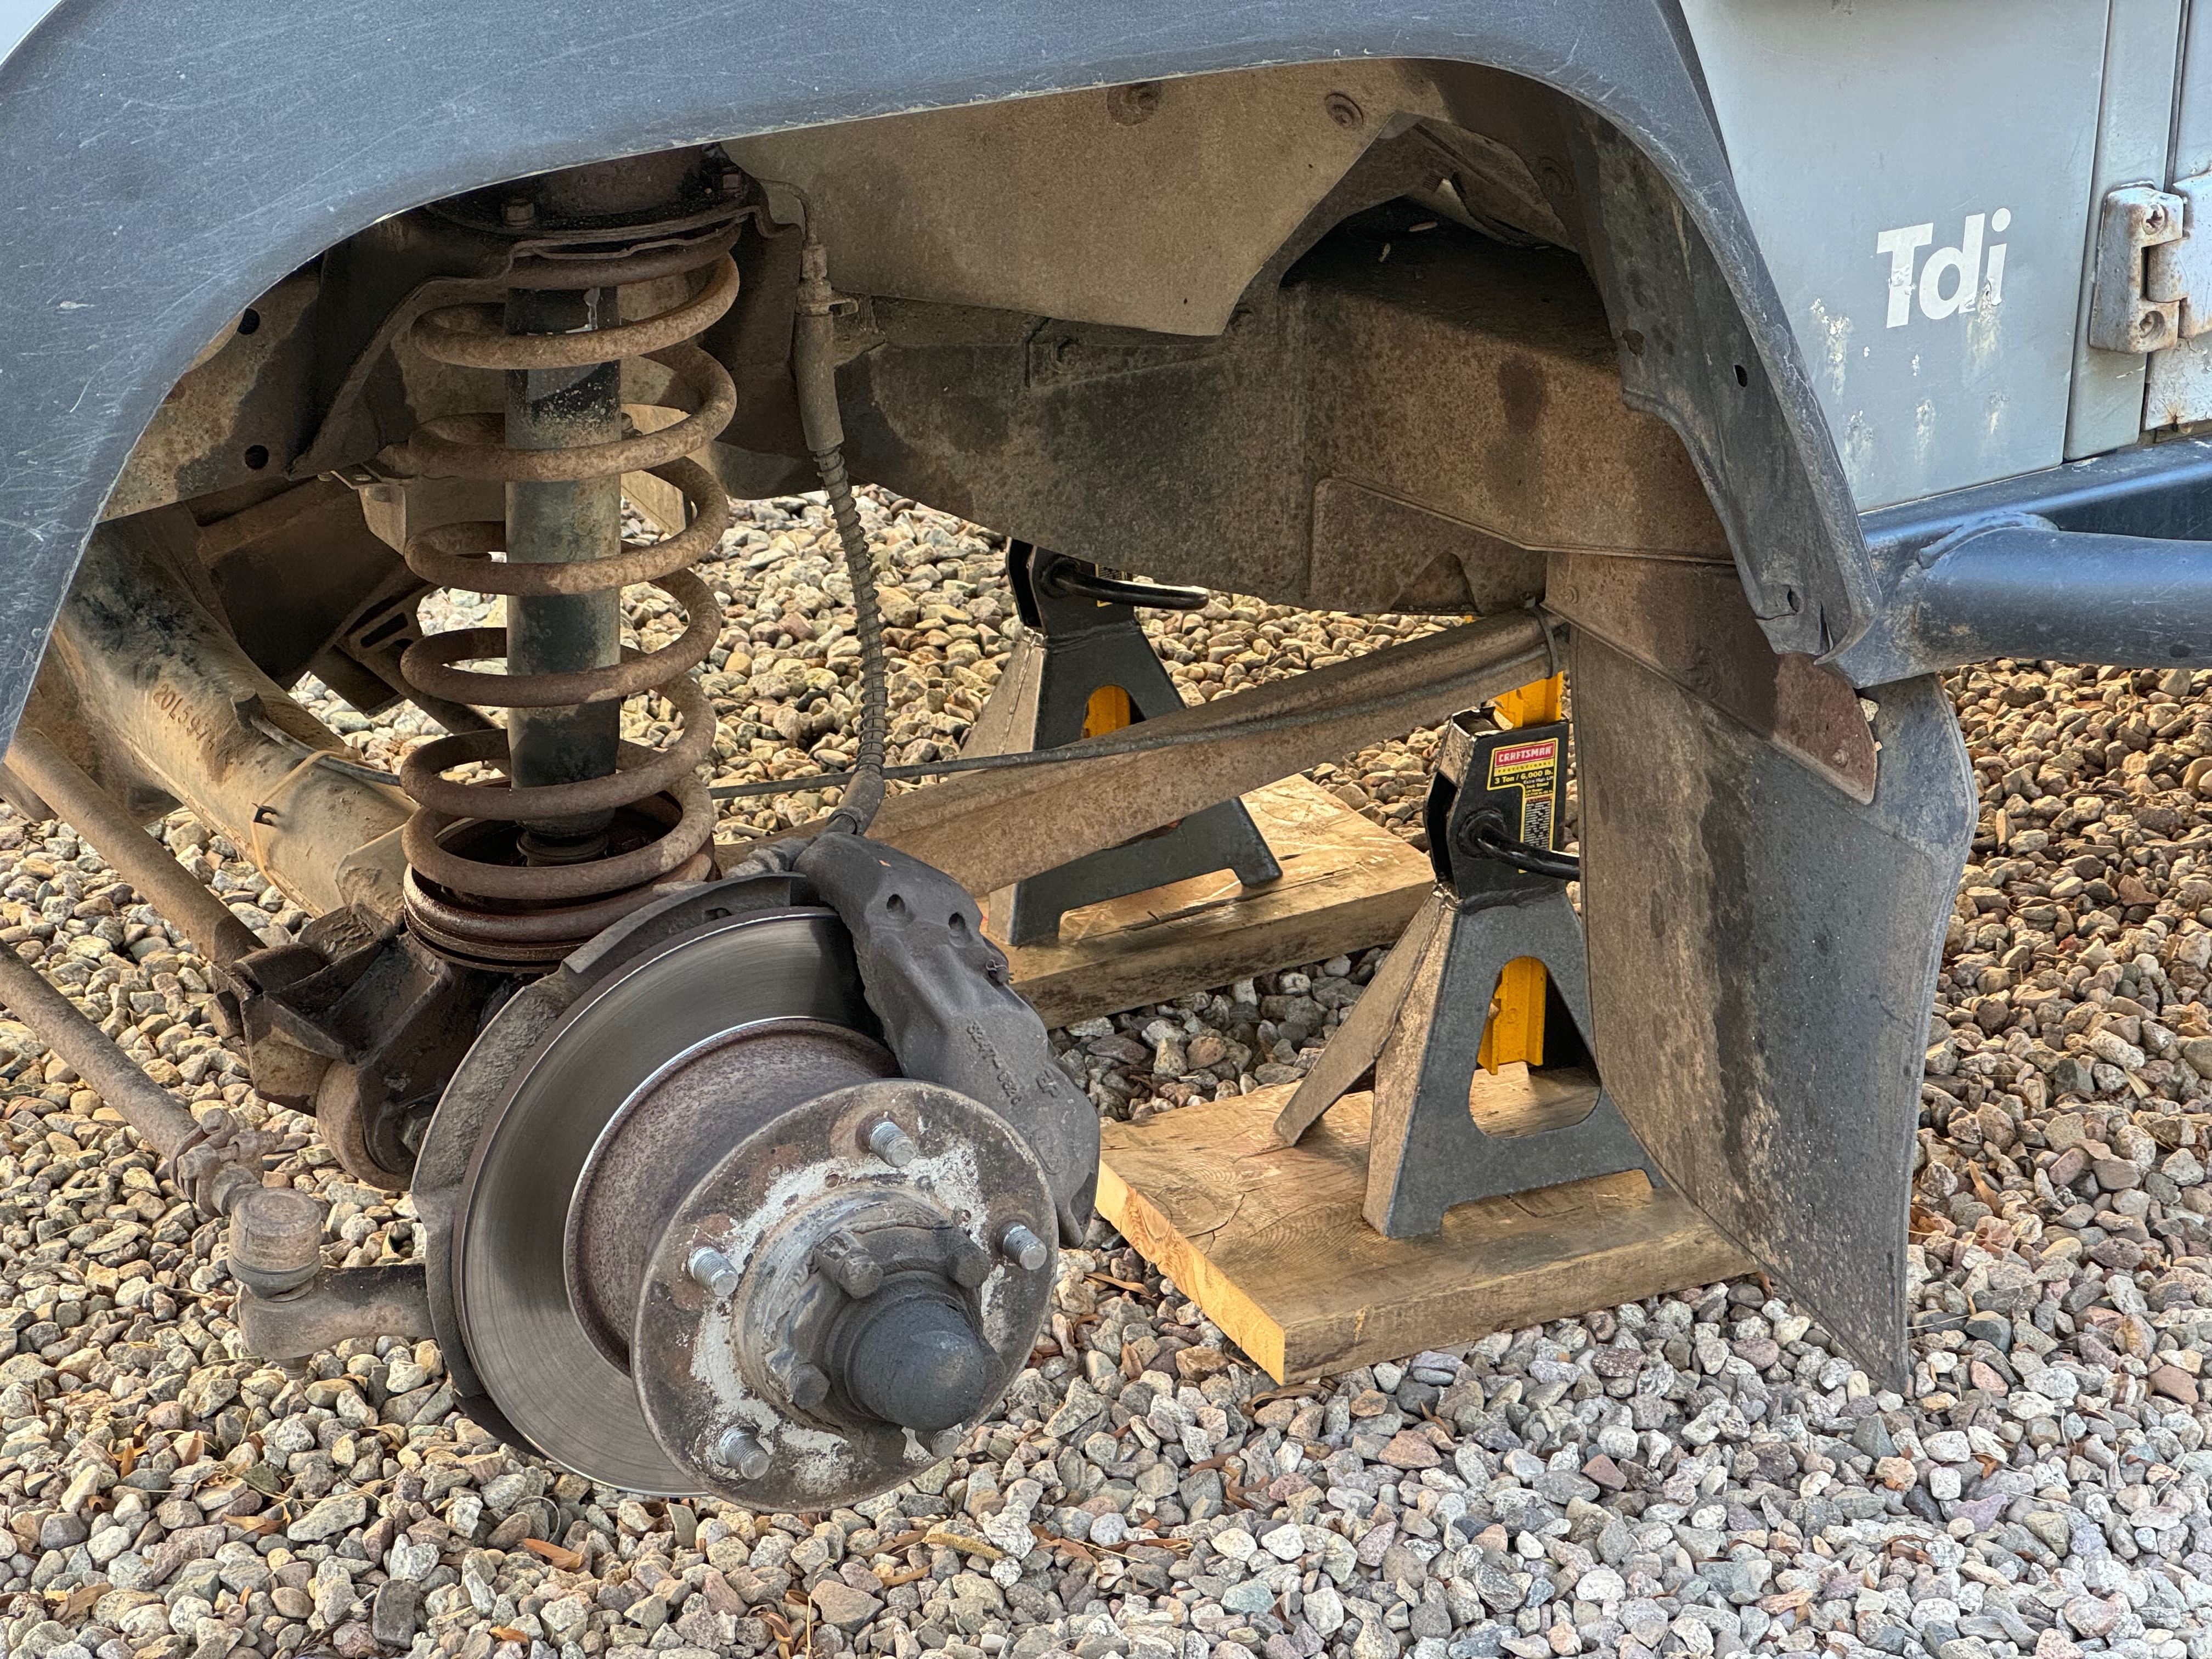
As I mentioned in a previous post, my original intention was to simply swap out the coil springs with a new set, as I had no reason to believe any other components needed to be replaced. However, after watching this video and putting the Defender up on jack stands to survey the situation, I decided this would be the right time to also replace the very rusty shocks and shock towers.
So I promptly ordered a pair of Old Man Emu shocks, and a galvanized shock tower kit, in addition to the new coil spring set that I already had. In the meantime, I got started on the disassembly.
I doused everything with penetrating oil days in advance, and then doused everything again a few days later, so all of the rusty bits had a good soak.
Let’s start on the passenger’s side
Starting with the passenger’s side, I removed the nut from the bottom of the shock, preventing the shock body from turning with a rubber strap wrench. The axle dropped (mind your brake lines), and the coil spring had enough slack to flop around freely.
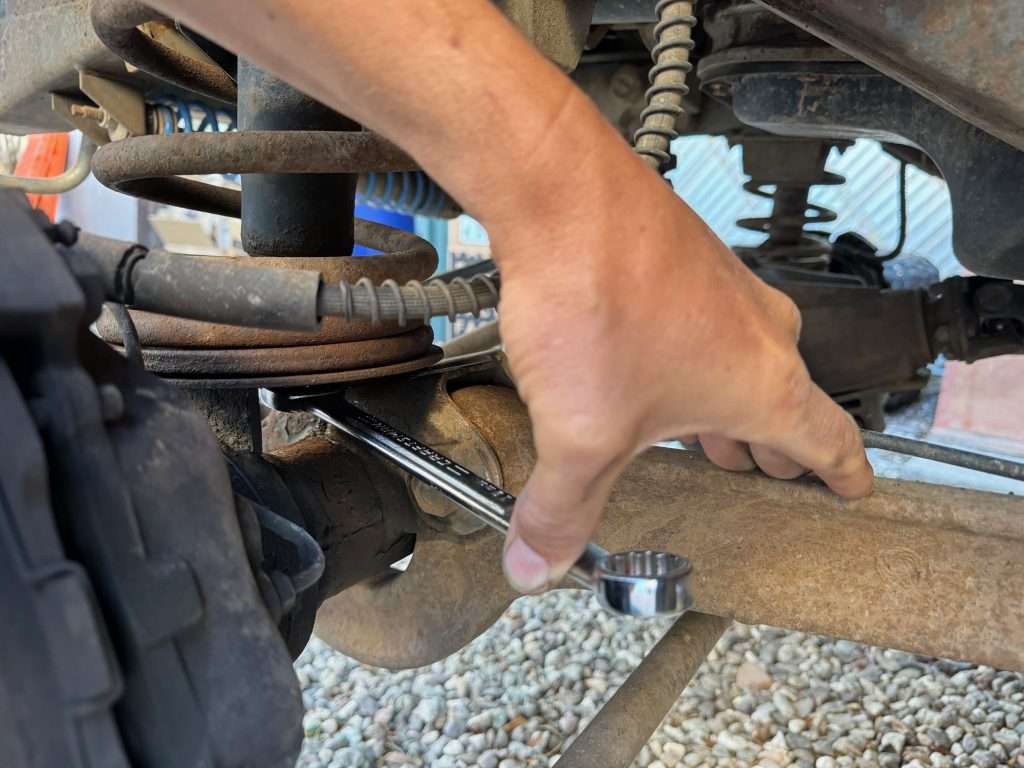
Then I removed the four nuts holding the shock tower onto the stud plate. Once the shock tower was detached, I was able to maneuver the coil spring enough to slide it off the bottom of the shock.


After that, I popped the hood, moved the air cleaner out of the way, and removed the plastic access cover on the inside of the passenger fender. This enabled me to easily extract the shock, still attached to the shock tower through the engine compartment – and toss it straight into the bin.


Finally, I easily removed the old spring seat from the axle, which wasn’t necessary because the old seat seemed perfectly fine, but a new seat was incoming with the shock tower kit.


On the passenger’s side, this whole process took about an hour.
Now onto the driver’s side
For the driver’s side, I repeated this process, but it didn’t go nearly as smoothly and it took closer to two hours.
I ran into trouble unbolting the shock tower due to severe rust on that side. There was a large hole on the backside of the tower where metal used to be, and despite being doused in penetrating oil, two of the studs broke as I turned them off.


One of the 13mm nuts was so deteriorated, I had to tap on an 11mm socket to get it to turn. Things turned to violence and took more time when I encountered that single rotten nut.
Fortunately, the incoming shock tower kit would also include new galvanized stud plates.
To be continued
In hindsight, the process of removing the front springs and shocks was wonderfully easy, rust issues and broken bolts aside. For that matter, it was the right decision to order the replacement shock tower kit from Rovers North in advance, because the hardware that I removed was not fit for reuse.
That’s fair. It had likely been on there for decades.
Now I just have to wait for the new parts to be delivered.