To quickly recap, I’m freshening up the front suspension on our 1991 Land Rover Defender 110; first, because the old springs and shocks looked saggy and tired, and might have been 35 years old. Not to mention, the shock towers were starting to rot.
Second, I will be installing a new bumper with an electric winch, which adds a good bit of weight to the nose of the Land Rover, so I want to make sure the front suspension is ready to support it with the appropriate heavy-duty springs.
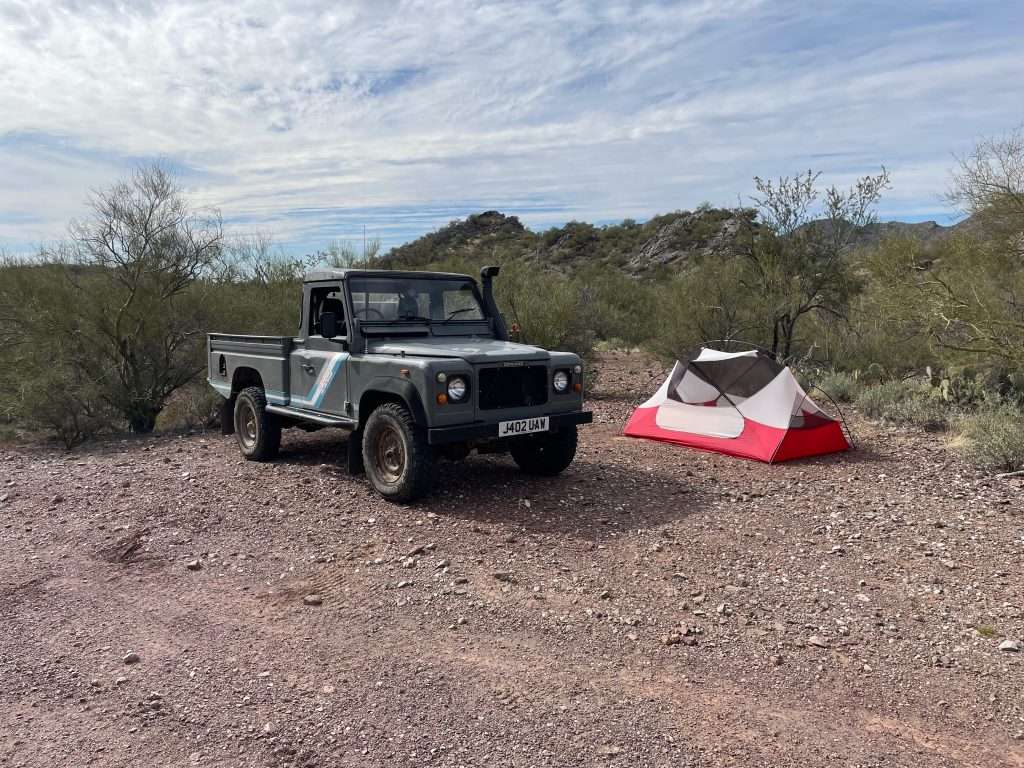
A “before” picture of the Land Rover for a little bit of context. This photo was taken while camping in the desert a couple years ago. Aside from a new set of tires, it hasn’t changed much!
I purchased all parts through Rovers North, in Vermont, with whom I’m not affiliated, but they usually have exactly what you need for your classic Land Rover, and they get it to you fairly quickly and painlessly. They’re not the only parts source I use, but they’re usually my first stop – I’m sure I’ll be mentioning them regularly!
Parts breakdown
| Order Item | Qty | Part Number | Cross-Ref |
|---|---|---|---|
| Shock Tower and Spring Seat Set (galvanized) | 1 | RNA1186 | |
| Old Man Emu Extended Front Shock | 2 | 63037L | |
| ProLine Coil Spring – Driver’s Side (red/blue) | 1 | PLS046 | NRC9448 |
| ProLine Coil Spring – Passenger’s Side (white/yellow) | 1 | PLS047 | NRC9449 |
Thoughts on the new components
As I mentioned in a previous post, I wasn’t initially planning to replace the shock towers and spring seat hardware, but upon close inspection, and seeing what poor condition they were in, I opted to freshen-up these parts. It ended up being completely necessary, because much of the former hardware didn’t survive the disassembly process!
I was delighted that Rovers North had a complete, galvanized shock tower and spring seat kit. It’s everything you need in one sku.
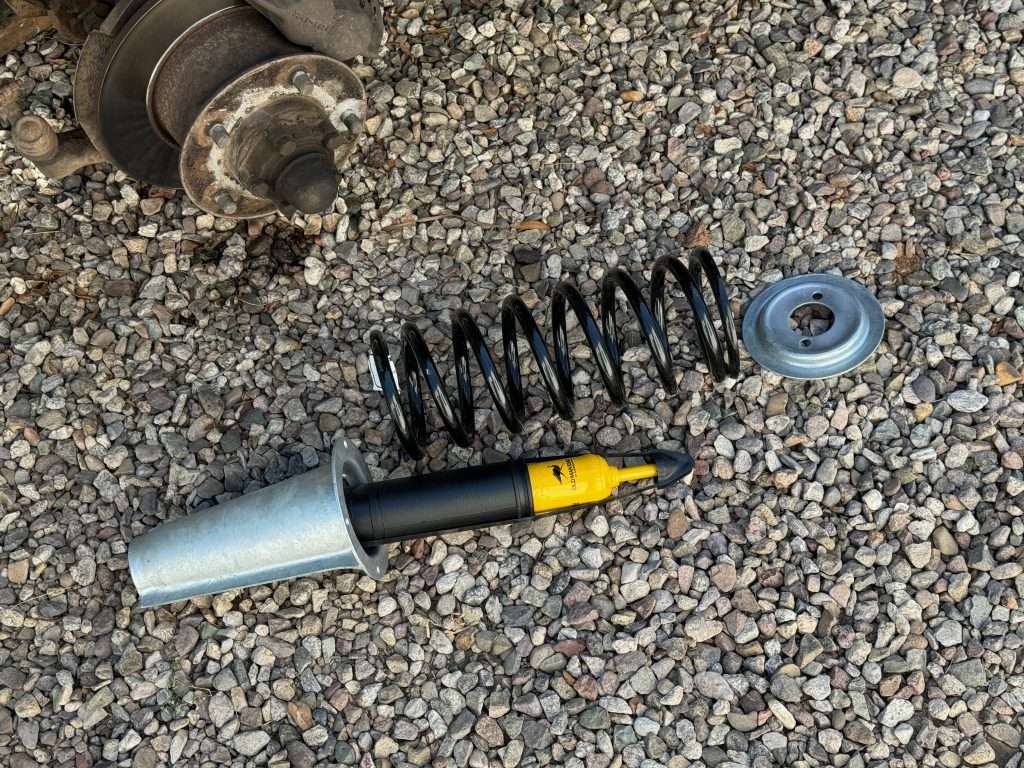
I’ve run Old Man Emu suspensions on previous vehicles, and have always been thrilled with their comfort and off-highway performance. These extended length Old Man Emu shocks are suited for classic Defenders with 0 to +2 inches of lift, which should allow me to coax just a little more downward wheel travel out of the front suspension.
With the new coil springs, my intention is not to lift the Defender, but to restore its ride height to “like new” and also provide sufficient support for the forthcoming winch bumper. Rovers North recommended ProLine HD coil springs, which are aftermarket copies of the genuine Land Rover springs referenced above.
Regarding ProLine replacement parts, my experience with their quality has been fair. If this Defender 110 was a show-piece restoration, I’d lean more toward genuine Land Rover parts, but since this is a functional restoration and a trail vehicle, ProLine parts seem to get the job done nicely, and are far less costly than genuine parts.
Let’s get started
When all of your parts are brand new, and completely devoid of rust, reassembly is a breeze!
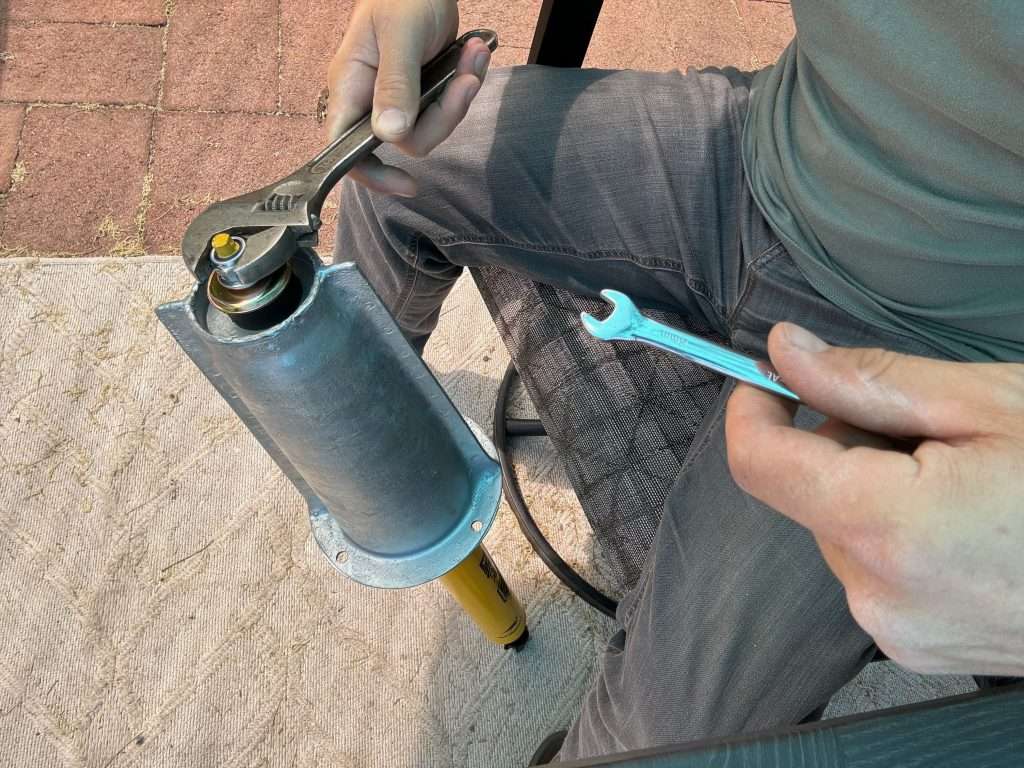
I started by installing the top of the Old Man Emu shocks onto the shock towers in the comfort of a patio chair.
Then, I installed the new lower spring seats onto the front axle housing. The bolts are backed by nuts that are welded-on, so this was simply a matter of turning them in, but not before lathering them up thoroughly with anti-seize.
Don’t hold back on the anti-seize
As an aside, I utilized anti-seize heavily for this entire project. Given the state of the original hardware, and some rusty bolts that snapped during removal, I wanted these components to be easily serviceable for years to come. Therefore, I applied the silvery goo to pretty much every thread in sight.
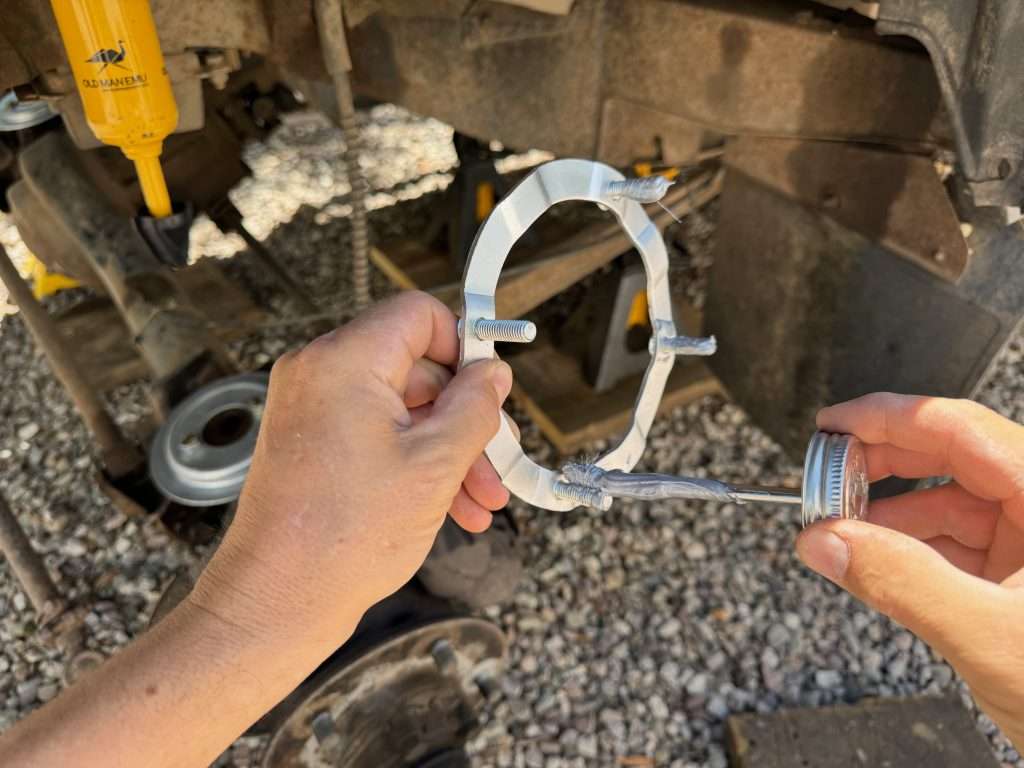
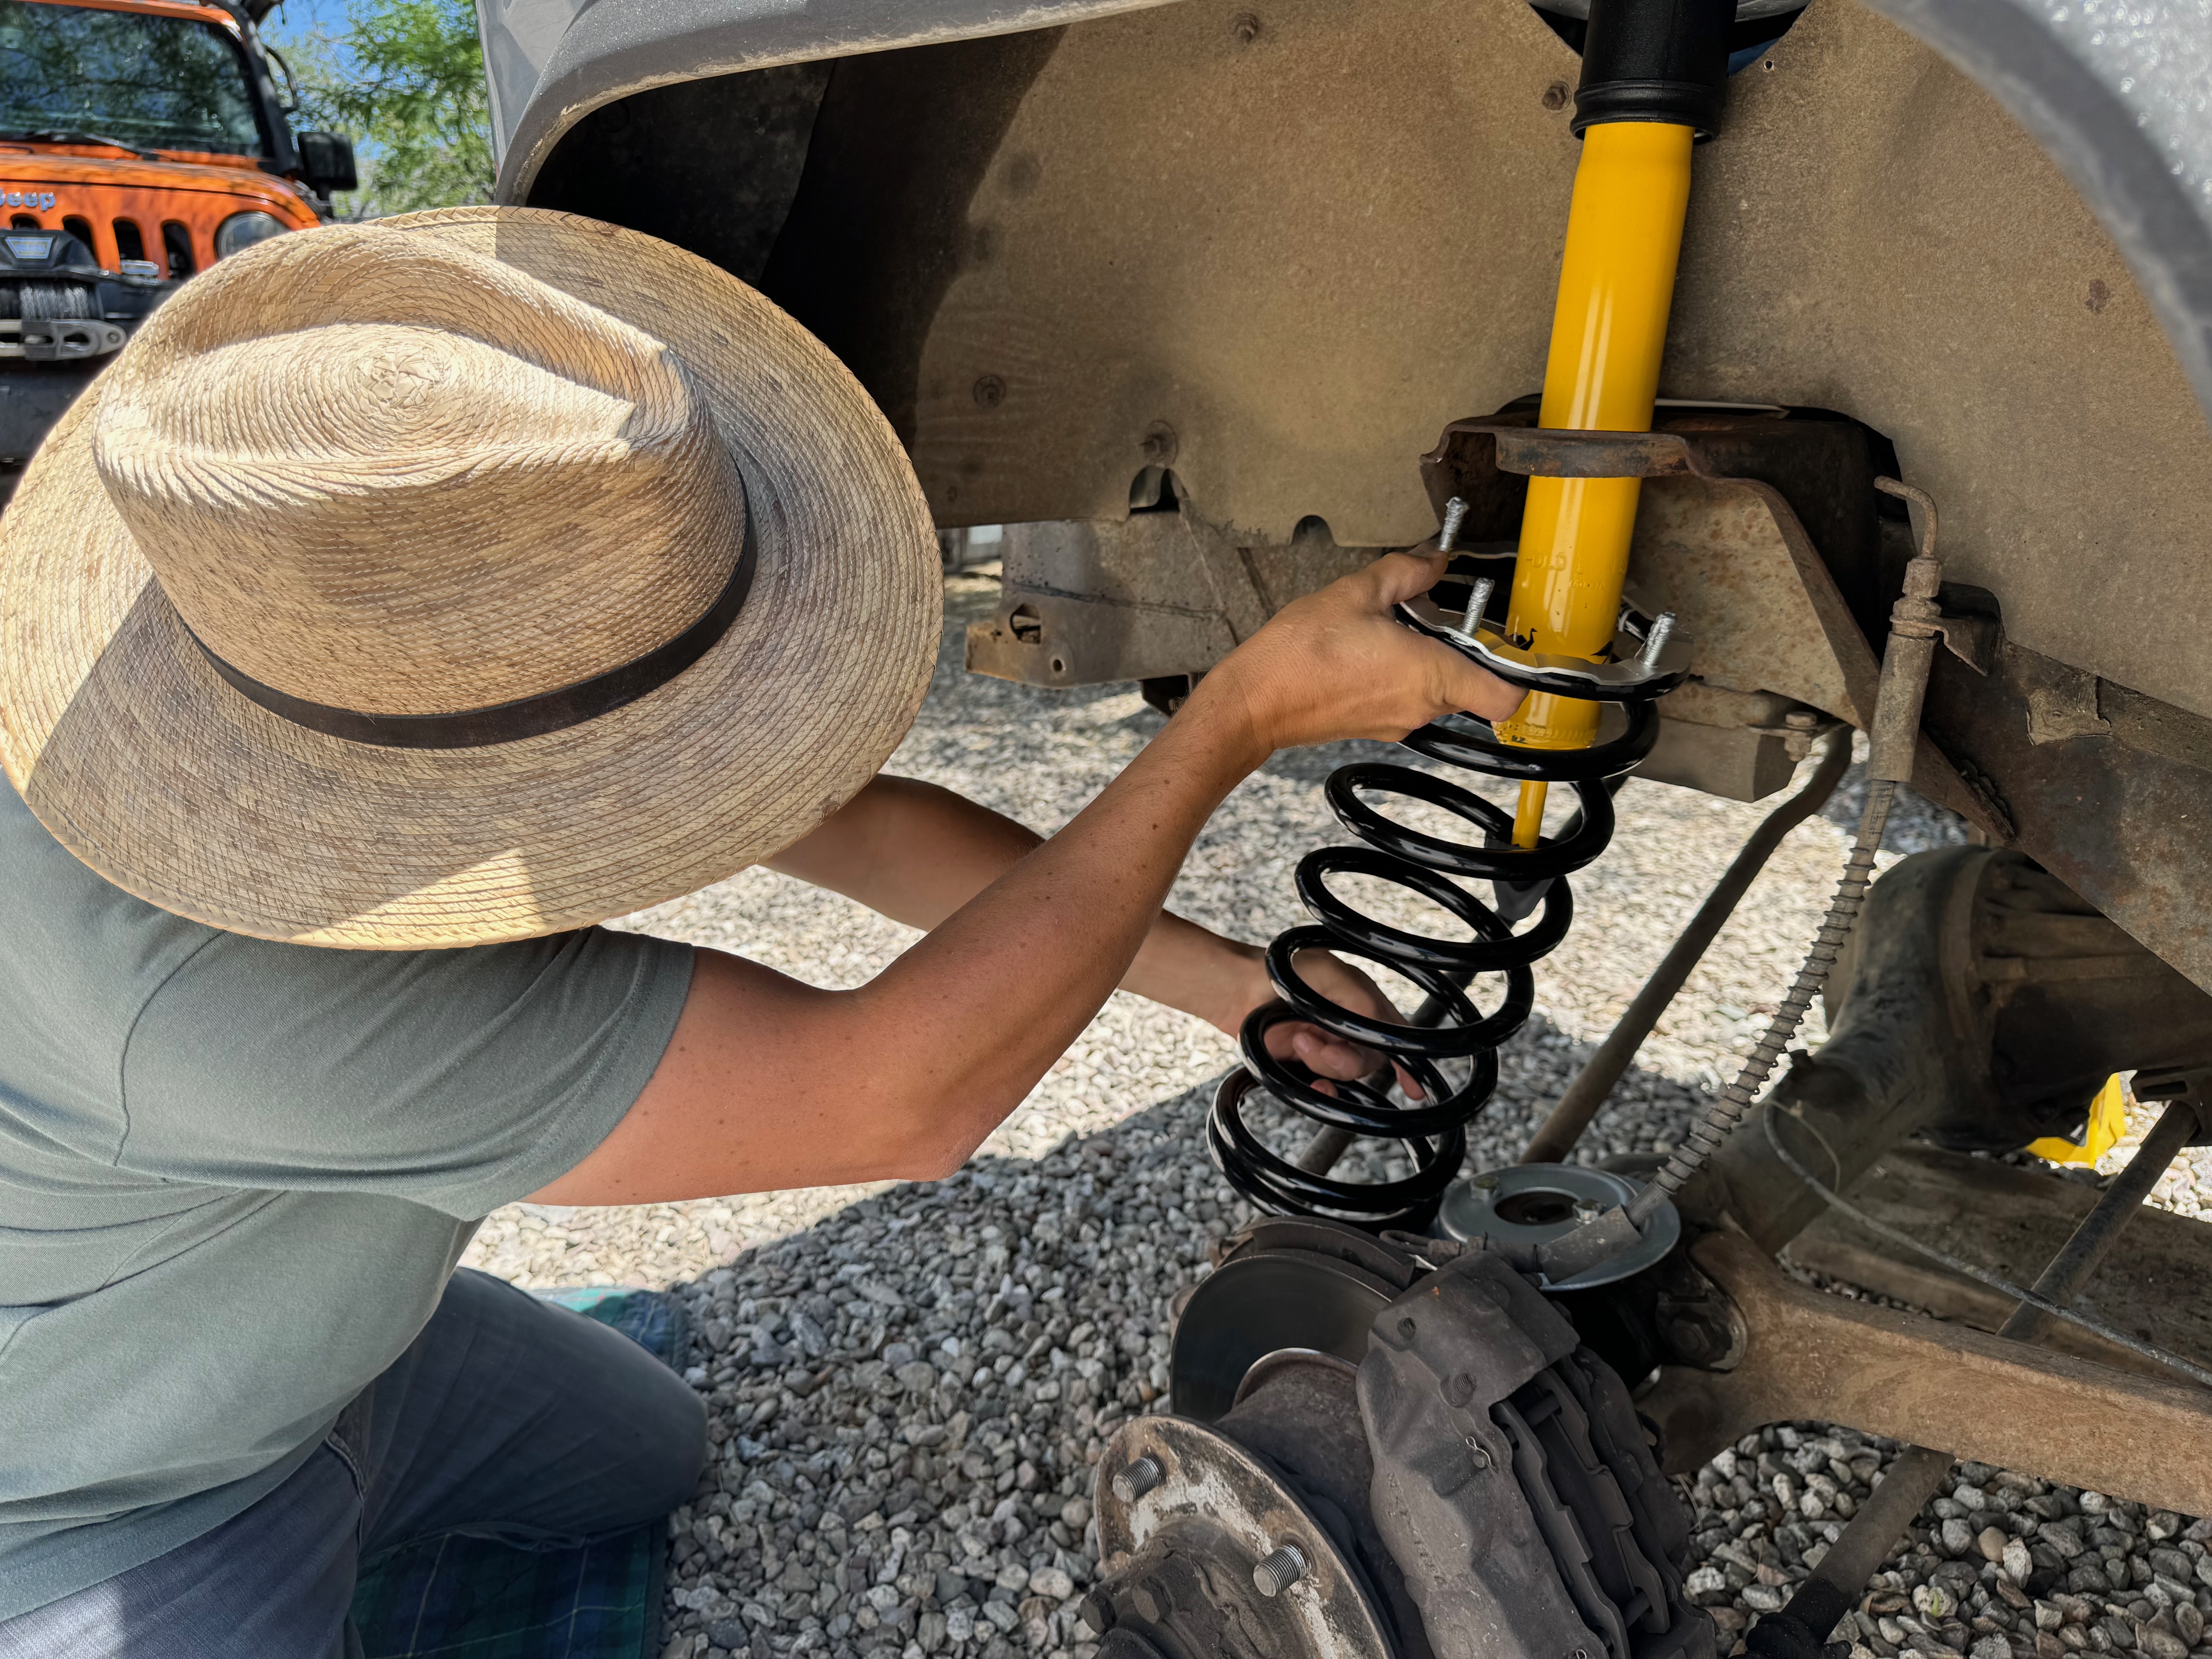
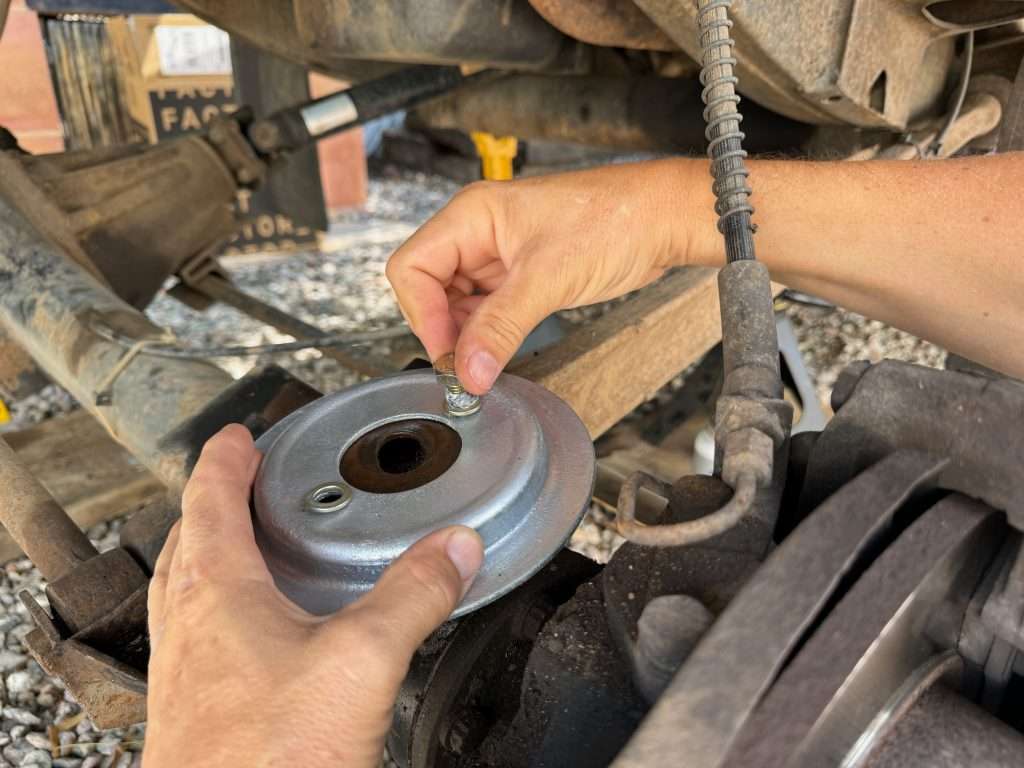
With the front axle dangling freely, fitting the new shocks and coil springs is as simple as lowering the shock tower assemblies through the fender access holes. Then, as you ease each shock tower into position above the spring seat, simultaneous slide the coil spring, topped with the stud-plate, up around the shock from underneath.


Feed the studs through the upper spring seat and attach the new shock towers by tightening the four nuts around the perimeter of the tower base. These are easy to reach and turn on-and-off fairly easily, but the studs are prone to breaking if rust sets in.
Off to buy one wrench in particular
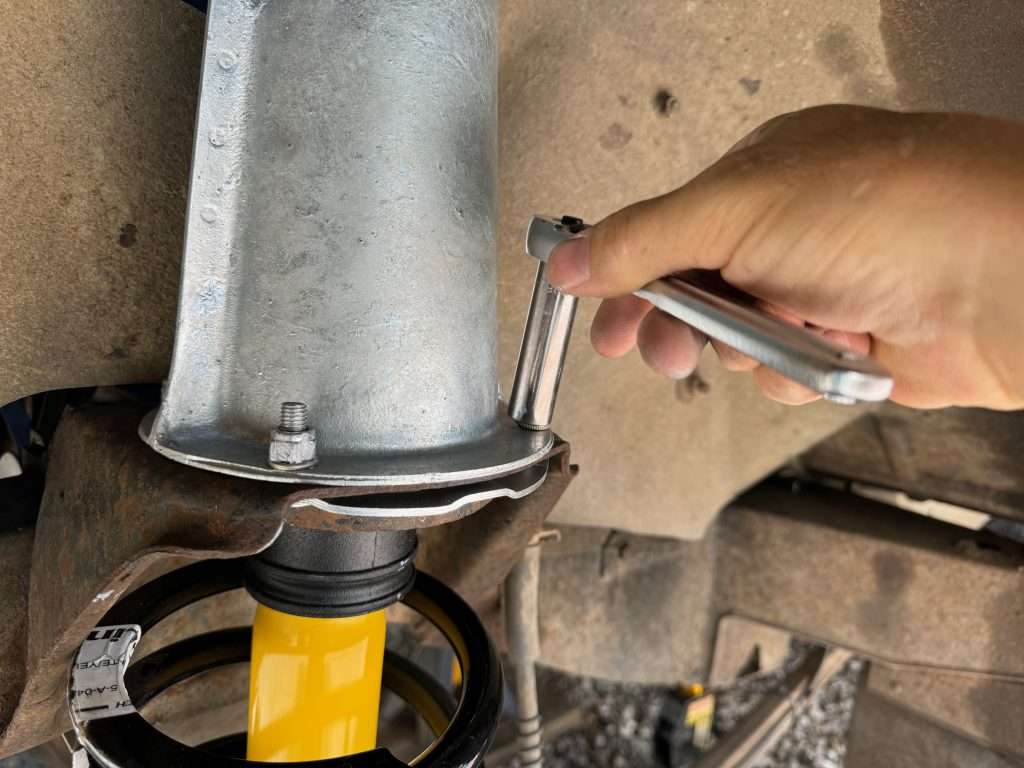
The final step is to attach the lower shock posts to the brackets on the axle housing. While a standard 19mm wrench will suffice to attach the Old Man Emu shocks, this is tedious because there isn’t much clearance between the underside of the bracket and the axle tube. So I went to the hardware store to purchase a 19mm ratcheting box wrench specifically for this task.
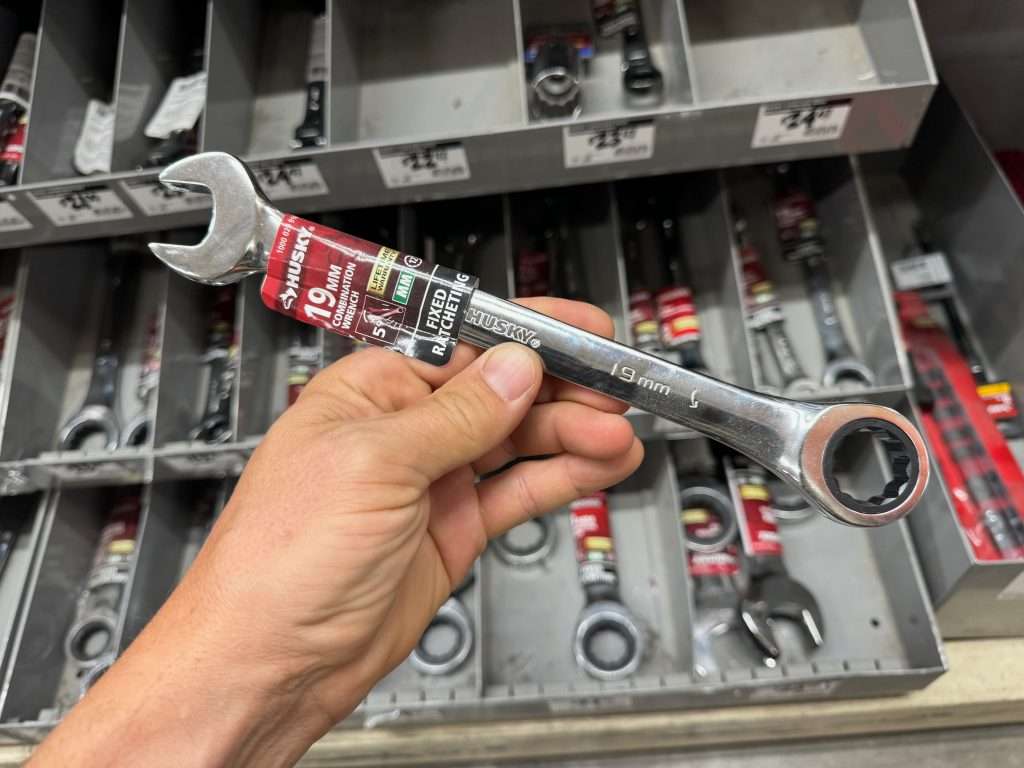
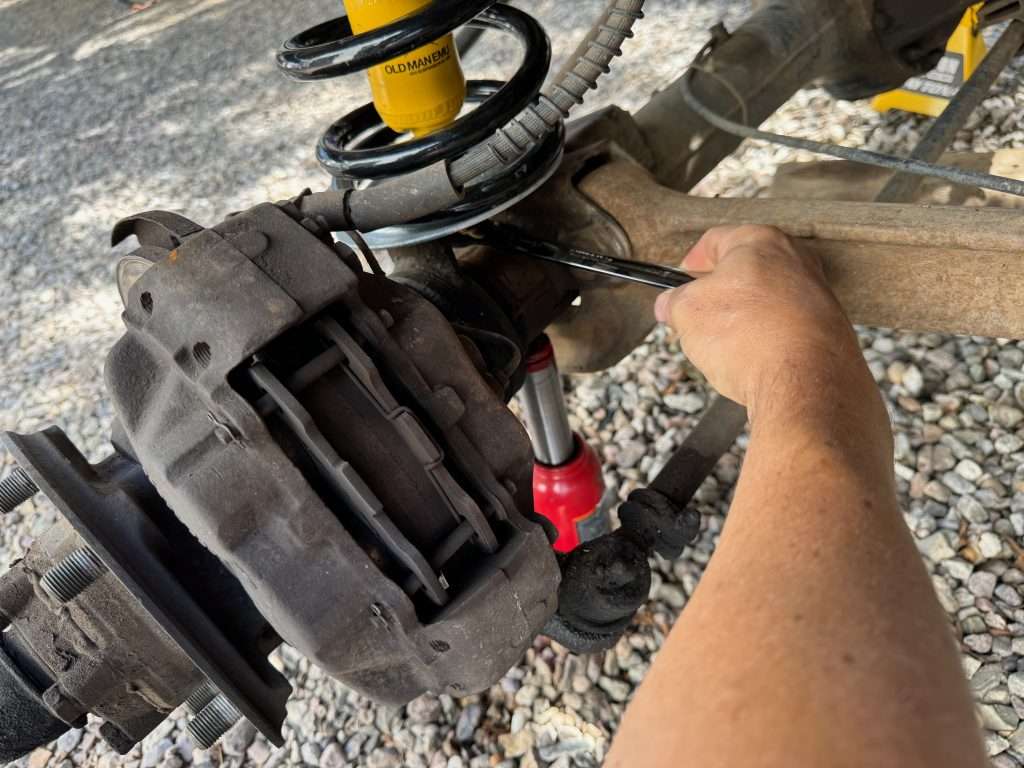
Money well spent. The ratcheting box wrench makes this job muccchhh easier.
I held the body of the shock with a rubber strap wrench as I tightened the lower shock mount.
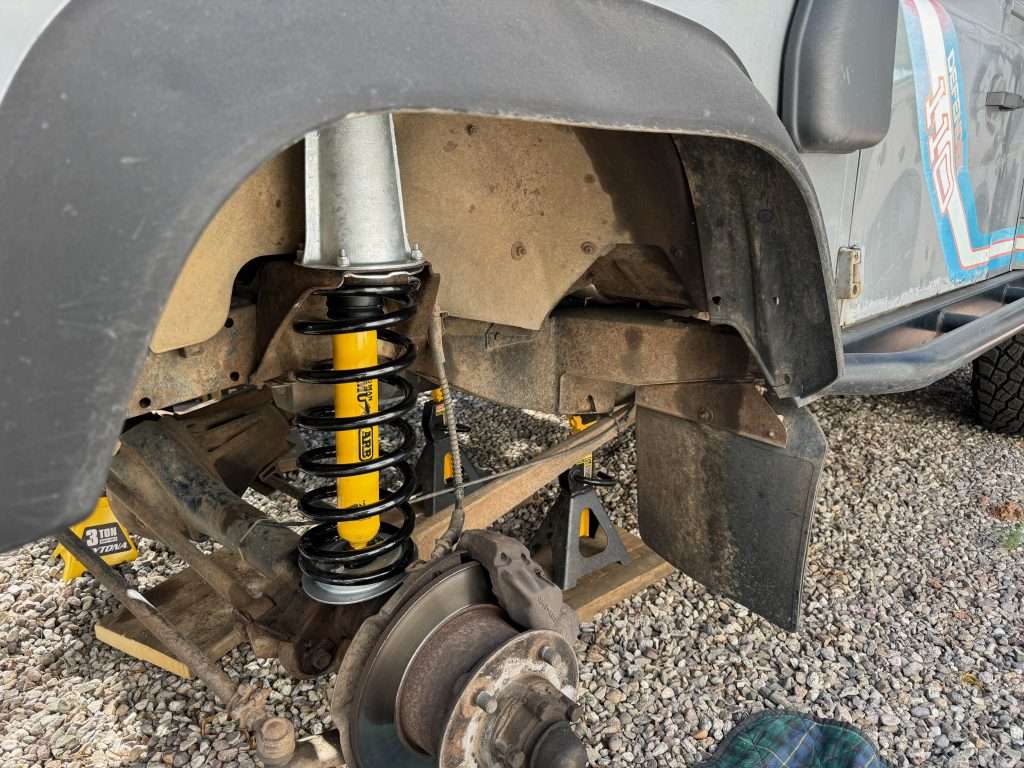
That’s all there is to it. Now, if I wanted, I could mount the wheels and put it back down on the ground. But before I do that, I’m going to turn my attention to the winch bumper.