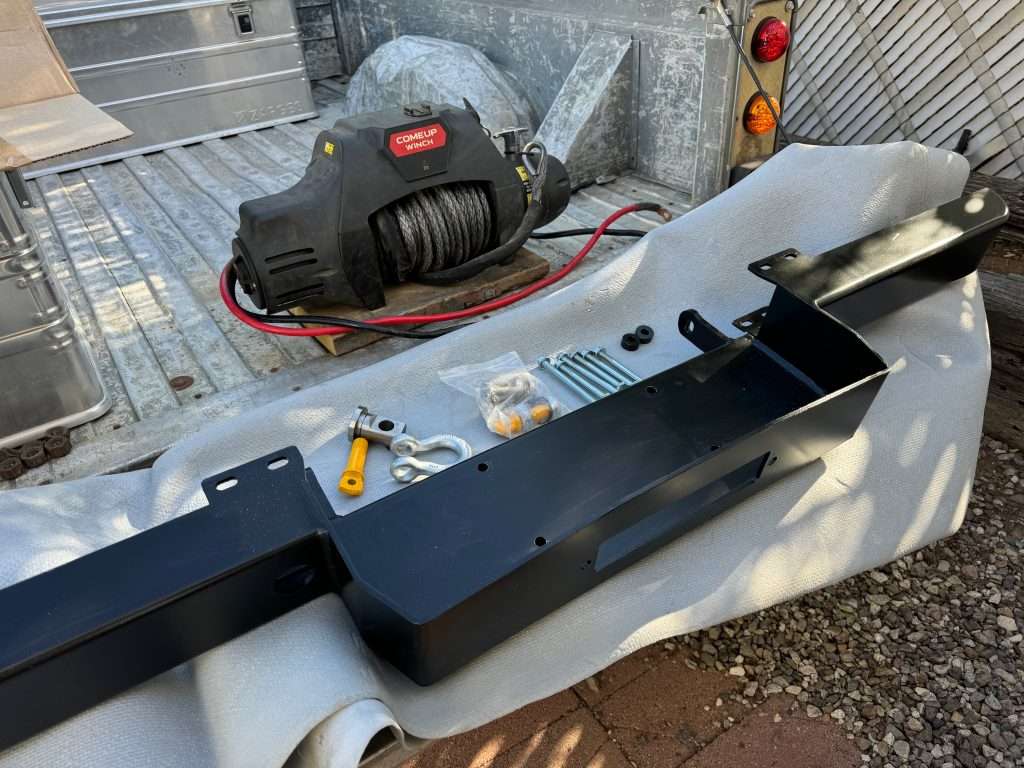
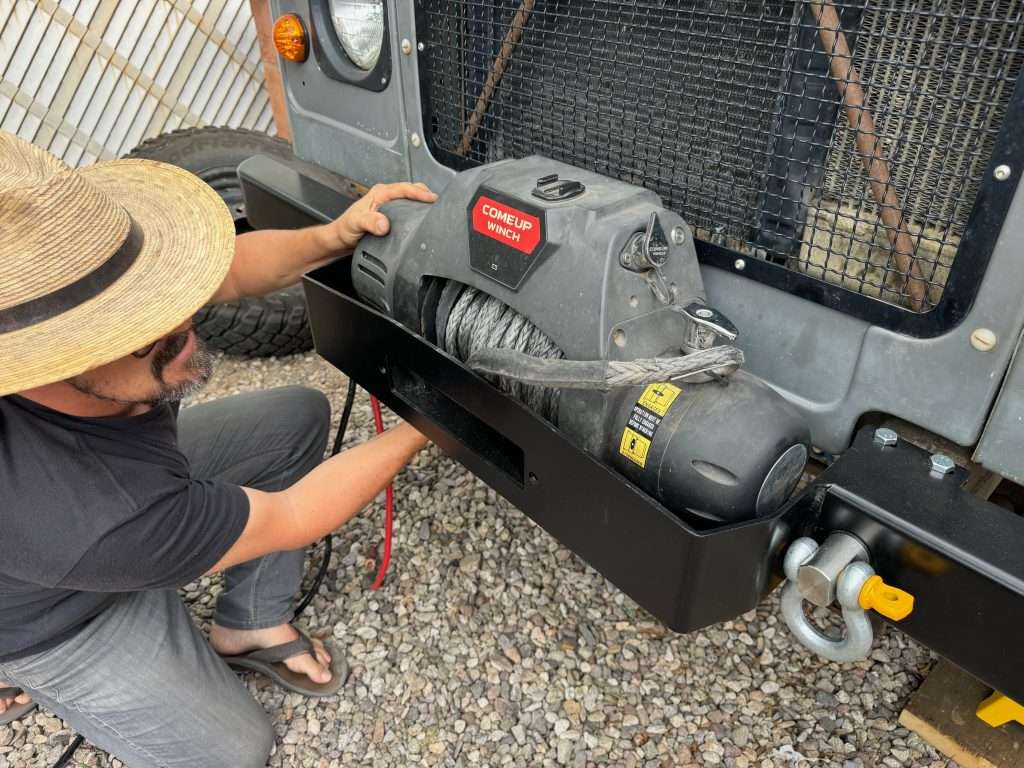
I was looking for a very simple, utilitarian steel bumper that matched the form-factor of the stock Defender bumper, but one that included a winch tray that would accommodate my old, discontinued COMEUP Winch 9.5si.
I found such a bumper, part number RNA2116, through Rovers North – on my second attempt.
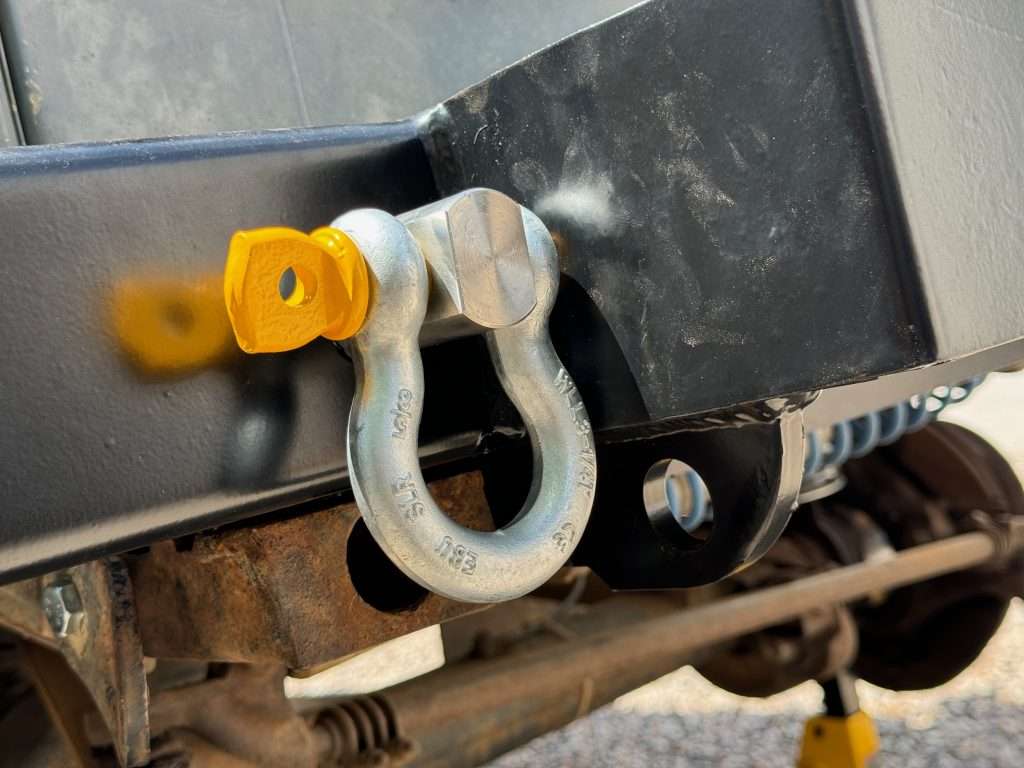
With recovery points
The new bumper features two 1-3/8″ holes on either side of the winch tray that accommodate swivel shackles. These are add-on parts, and provide two sturdy tow points, essential for vehicle recovery.
They’re attached by inserting the machined eyelet through the hole and fitting a retaining ring. Once the retaining ring is in place, the eyelet is able to rotate freely, but it is firmly attached to the face of the bumper and can accommodate a 5/8″ metal shackle.


It’s a solid setup that I’m very happy with, but I have two minor nit-picks:
First, there is enough slop in the swivel eyelet with the retaining ring that it may be prone to chatter while driving. In all likelihood, it will not be audible over the rattle of the 200tdi engine, but my personal preference is to introduce as few moving parts, or “dangly bits,” to the exterior of the vehicle as possible.
Second, I think the machined eyelet could be vastly improved if the edges and corners were smoothed to accommodate soft shackles instead of metal shackles.
Installing the winch bumper
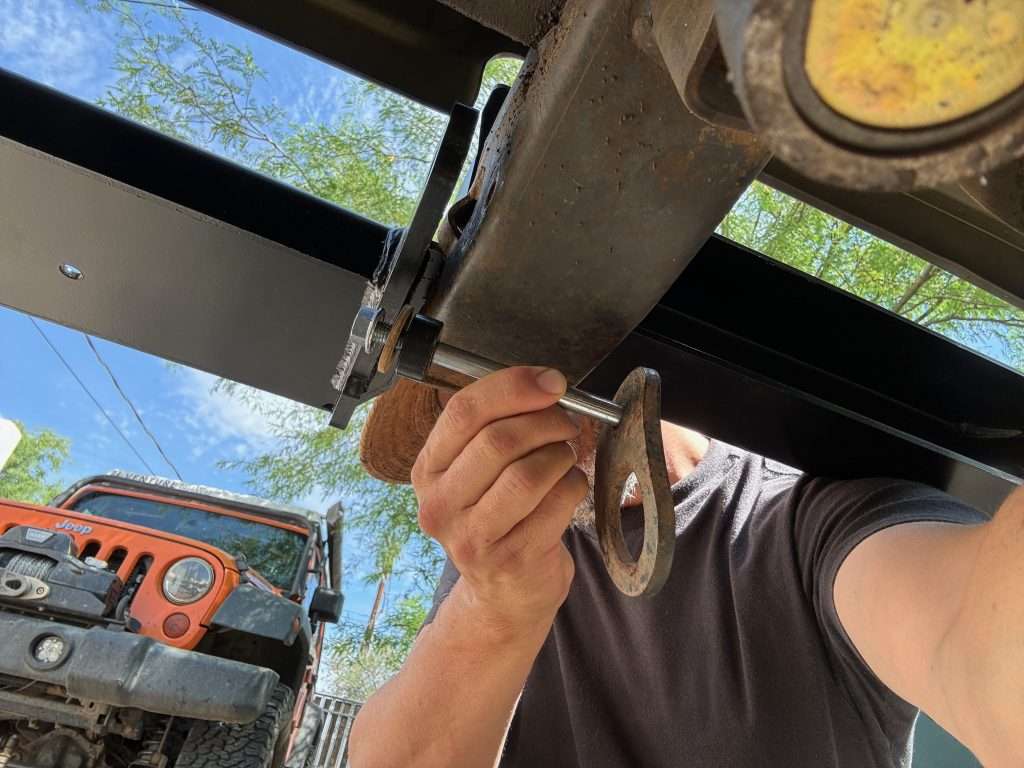
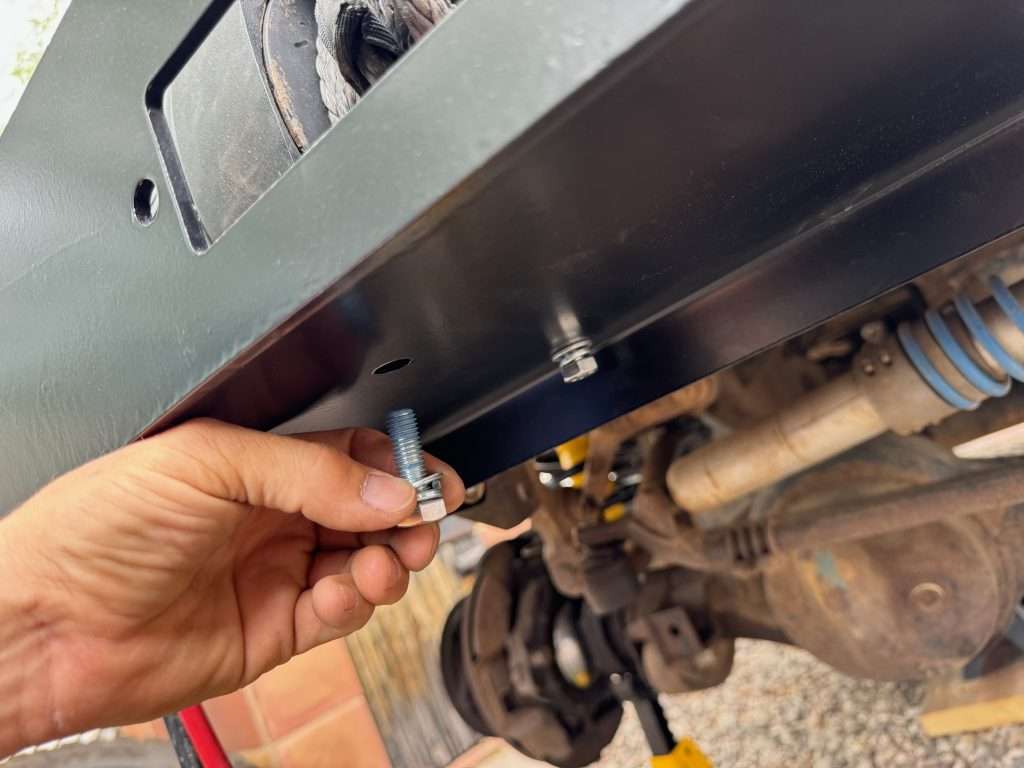
The bumper easily slides onto the frame rails where the old bumper used to be. It utilizes the same four vertical mounting holes as the original bumper, in addition to two more horizontal mounting holes through the frame where the forward tie-down loops are located.
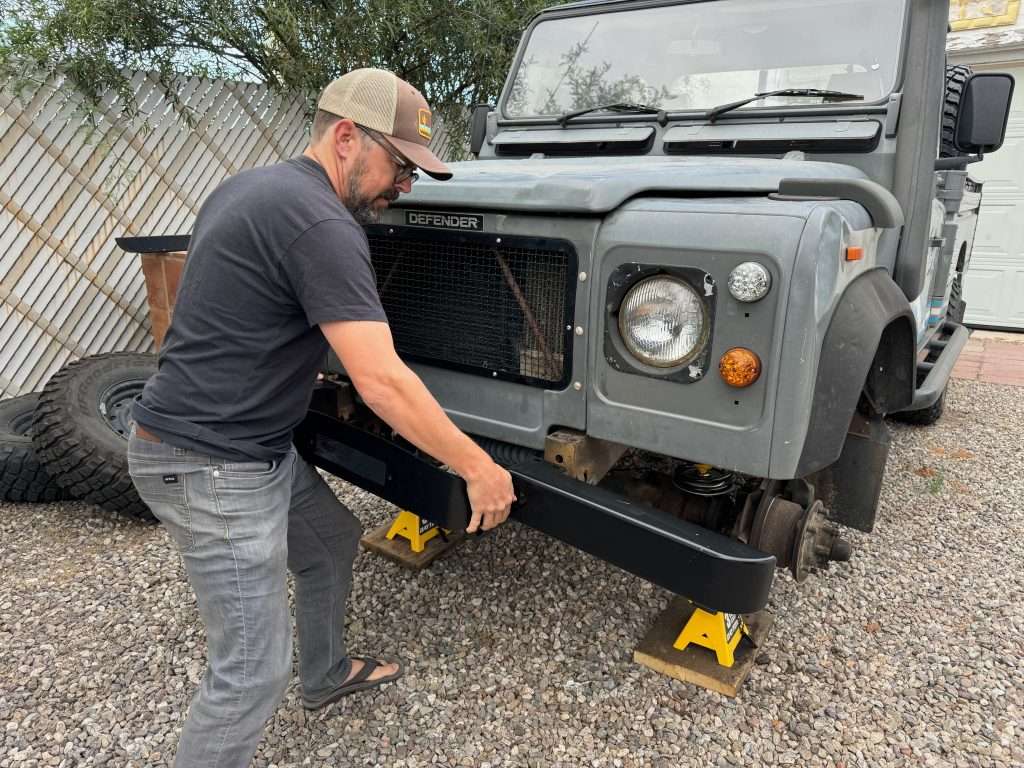
No drilling is required, and with the brand new hardware that came with the bumper, there are no stubborn, rusty parts to contend with. The bumper was firmly attached in a matter of a few minutes!
One noteworthy gotcha
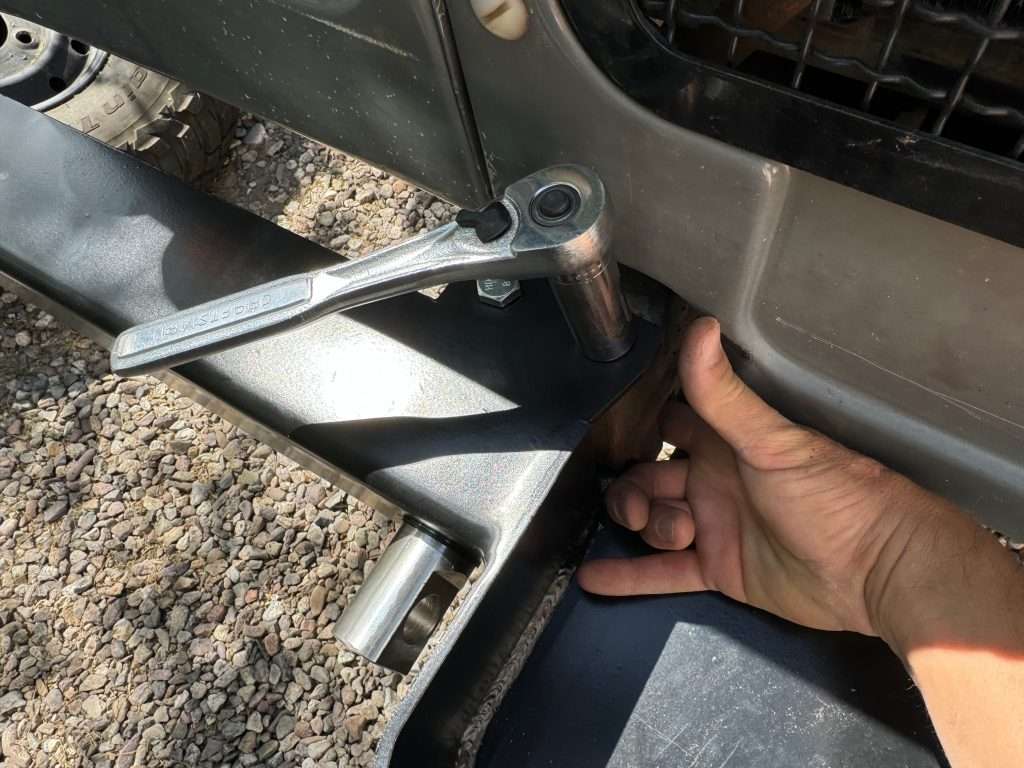
The original bumper bolts are secured with a welded nut-plate, instead of individual nuts. The nut-plate is positioned in a hard-to-reach cavity on the underside of the frame rail, and it (for the most part) eliminates the need to hold the backside with a wrench as you tighten the bolts.
Aftermarket bumpers seem to come with individual nuts instead, in which case you do have to hold them with a wrench to snug the bumper. The best way to accomplish this is to remove the rubber end-caps from the lower frame rail, and insert the entire wrench into the frame rail, seating the box end of the wrench over the nut to be tightened.
A telescoping magnet makes it easy to retrieve the wrench from the frame rail.

Just a dab of blue-goo
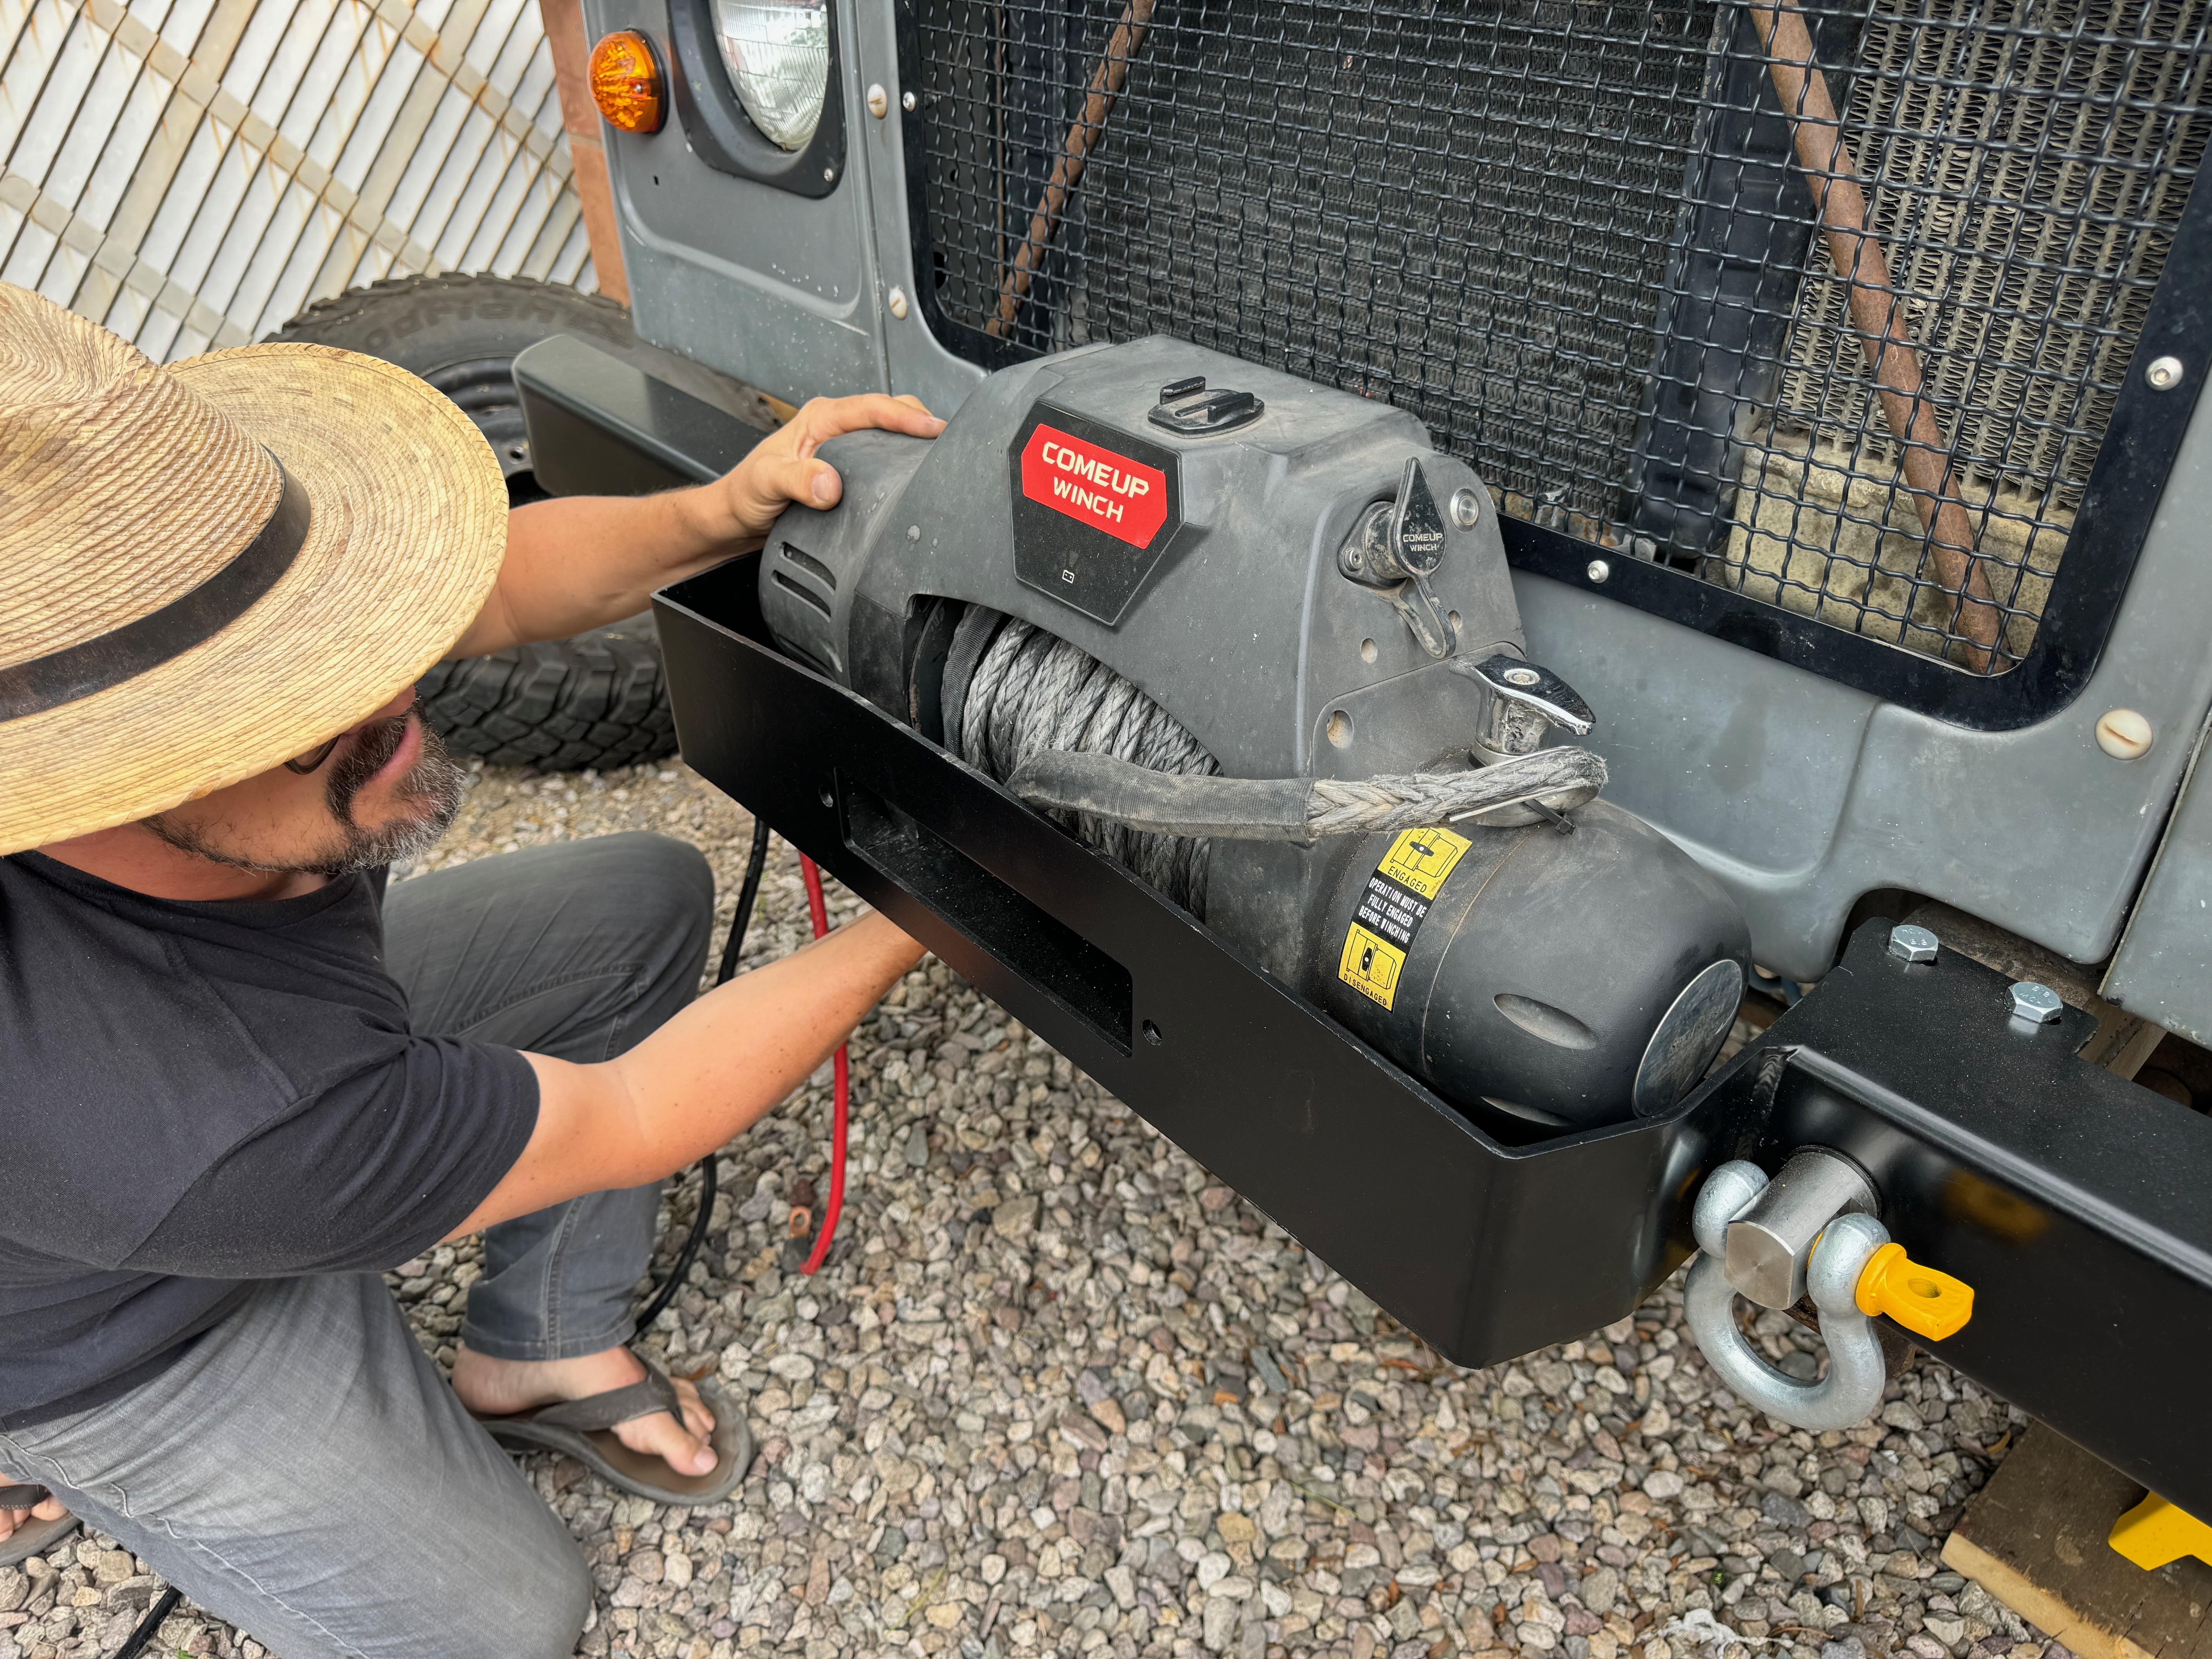
To prepare the winch for installation, I dab the mounting nuts in gasket maker, slide them into their seats in the winch base, and then thread the four bolts to ensure they’re in position. The Permatex quickly sets, holding the nuts in place, but not so firmly that they can’t be removed or relocated if need be.
I learned this trick from the guys in the shop at OK4WD.


Then, I position the winch in the bumper, insert the four bolts up through the bottom of the tray, and tighten from underneath.
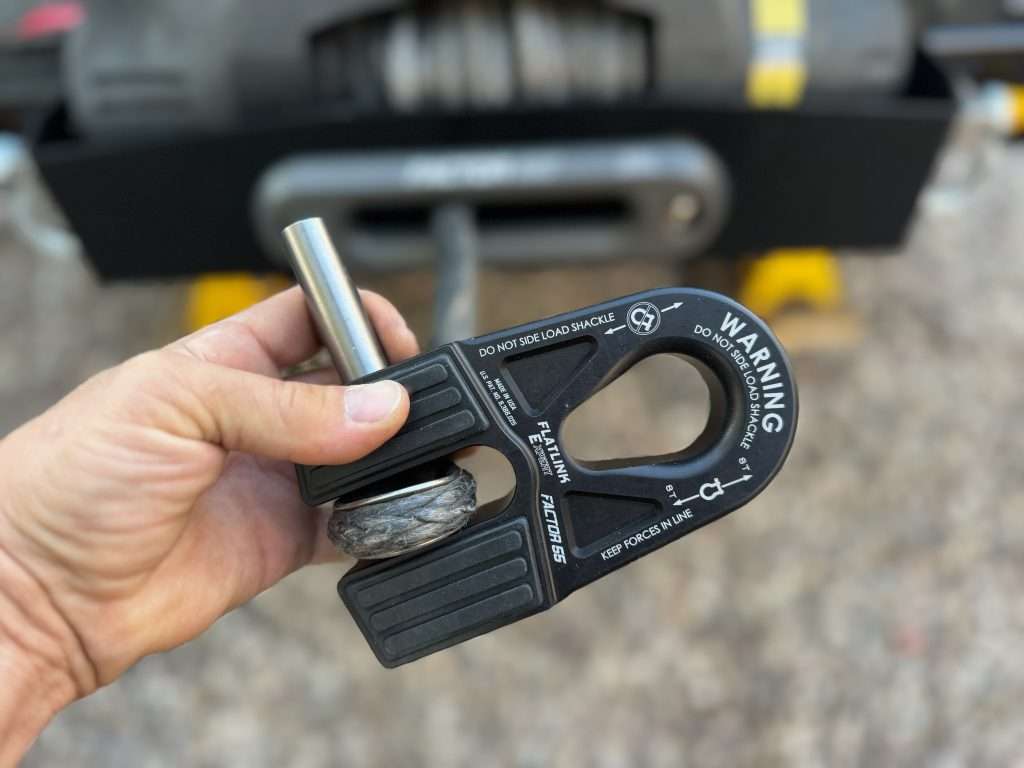
Finishing touches from Factor 55
I was in need of a winch hook, so I ordered a Factor 55 Flatlink E. This is a machined aluminum, closed-loop solution that accommodates a soft shackle, and is easily attached to the end of the winch cable via a pin and a snap-ring. It features a rubber guard that allows you to safely snug it up to your fairlead for storage.
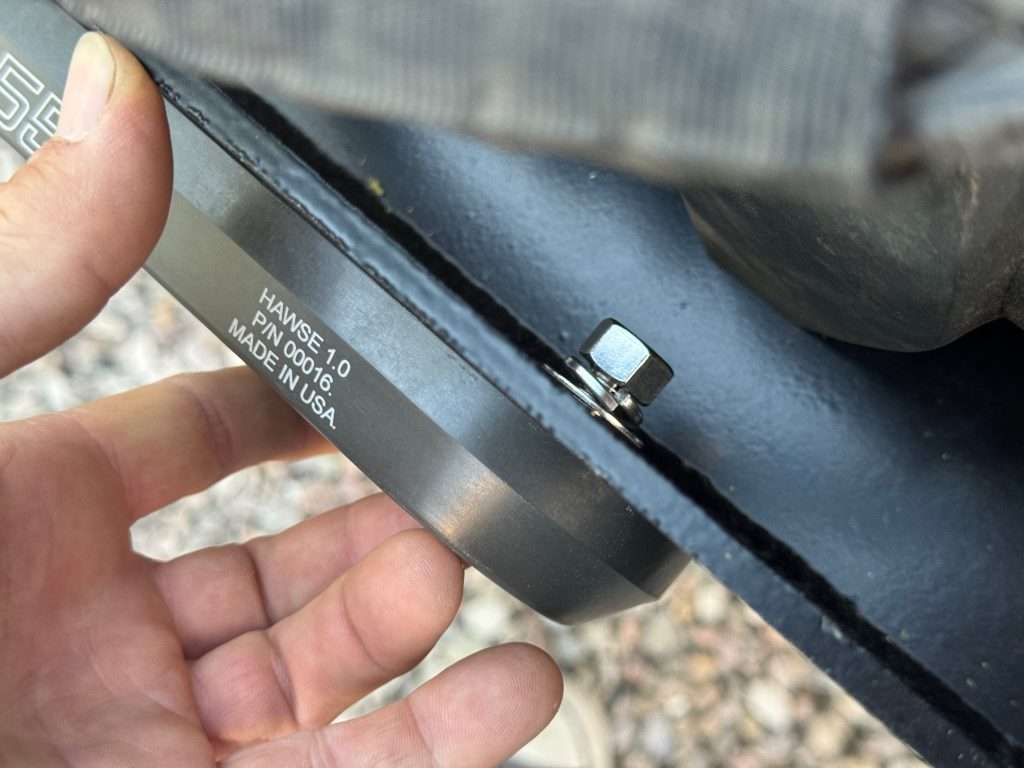
I also purchased a simple hawse fairlead from Factor 55, and attached it to the opening at the front of the winch tray with stainless steel hardware.
The winch bumper setup came together nicely. It’s simple, functional, looks phenomenal, and the refreshed front suspension is supporting the additional weight very well.
However, one task remains…
The power cables on the winch are way too short. So I have some wiring work to do before I can call the winch project a wrap. Stay tuned.