
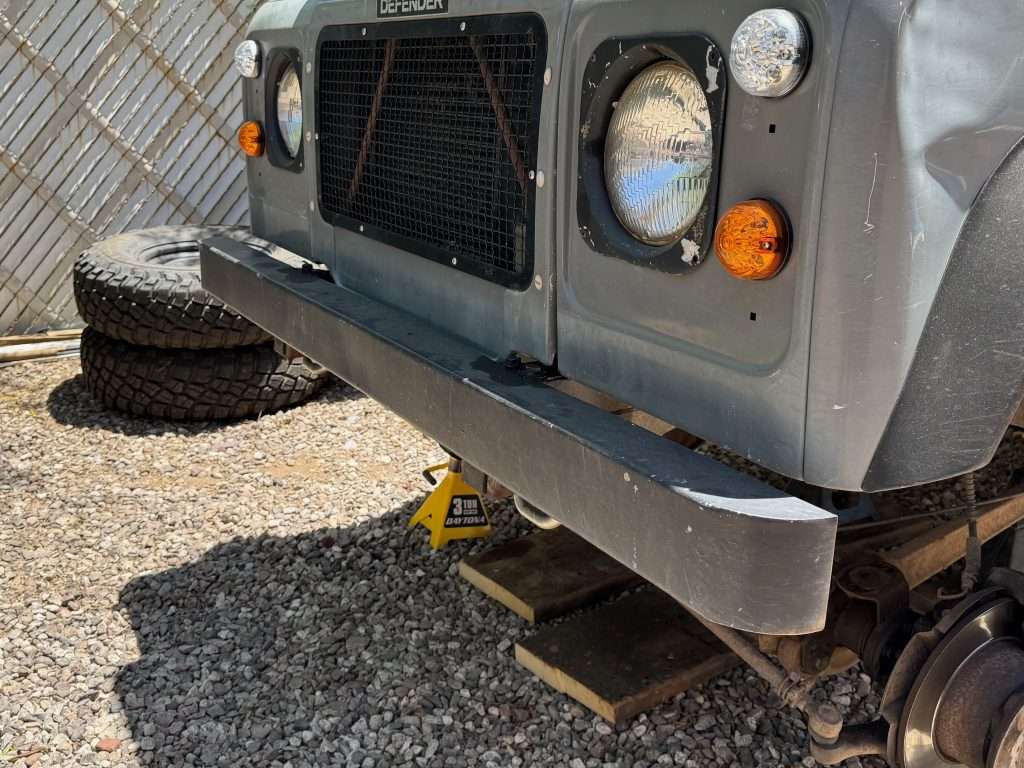
While waiting for the remaining suspension parts to be delivered, I took a moment to remove the original front bumper from the Defender. How hard can it be, right?
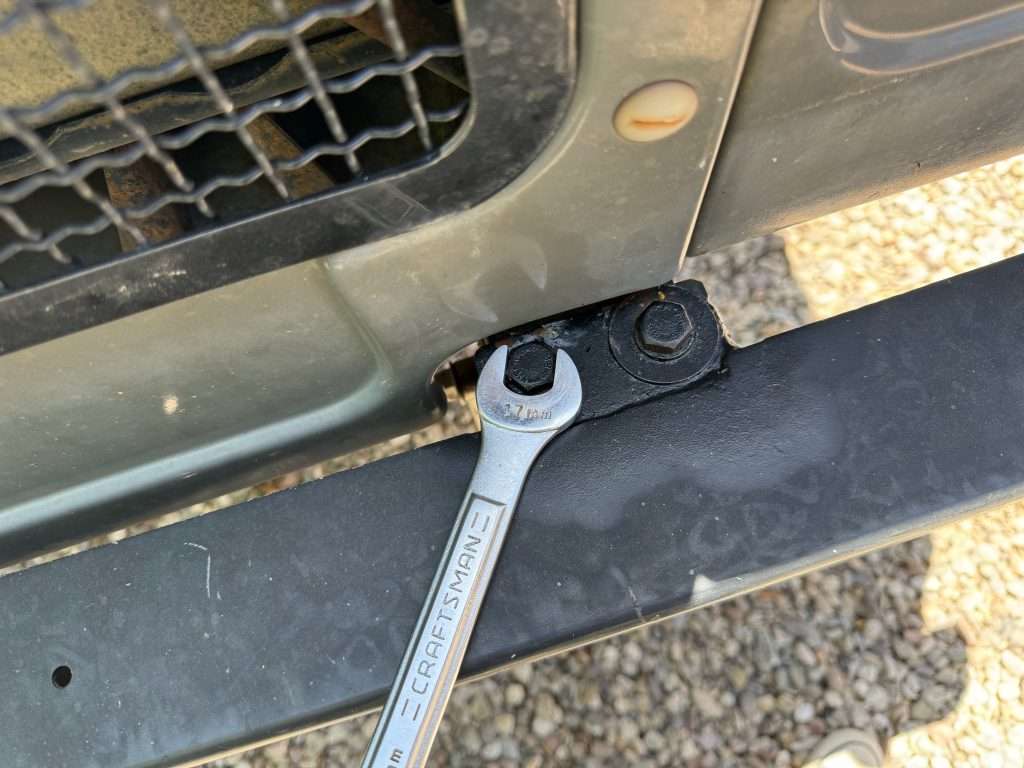
There are four 17mm bolts easily accessed from the top of the bumper; two at the foremost end of each frame rail. They’re long bolts that pass through the entire height of the frame rail, and are backed by two nut-plates.
Nice! With nut-plates, you don’t need to hold anything with a wrench on the backside. Although it’s possible that if your bumper has been swapped at some point over the years, you might have regular nuts on there.
Give the bolts a good soak
Like with the suspension, I doused the bumper bolts with penetrating oil days in advance, which helped… but I probably should’ve hit them again.
The bolts turned easily at first, but as I progressed, the rusty, 30 year old hardware started to bind up. Three of the four bolts made it out okay, but the last one snapped, leaving a bolt-fragment over an inch in length, stuck inside the nut-plate. This made the subsequent extraction of the nut-plate from the frame rail a little bit challenging.

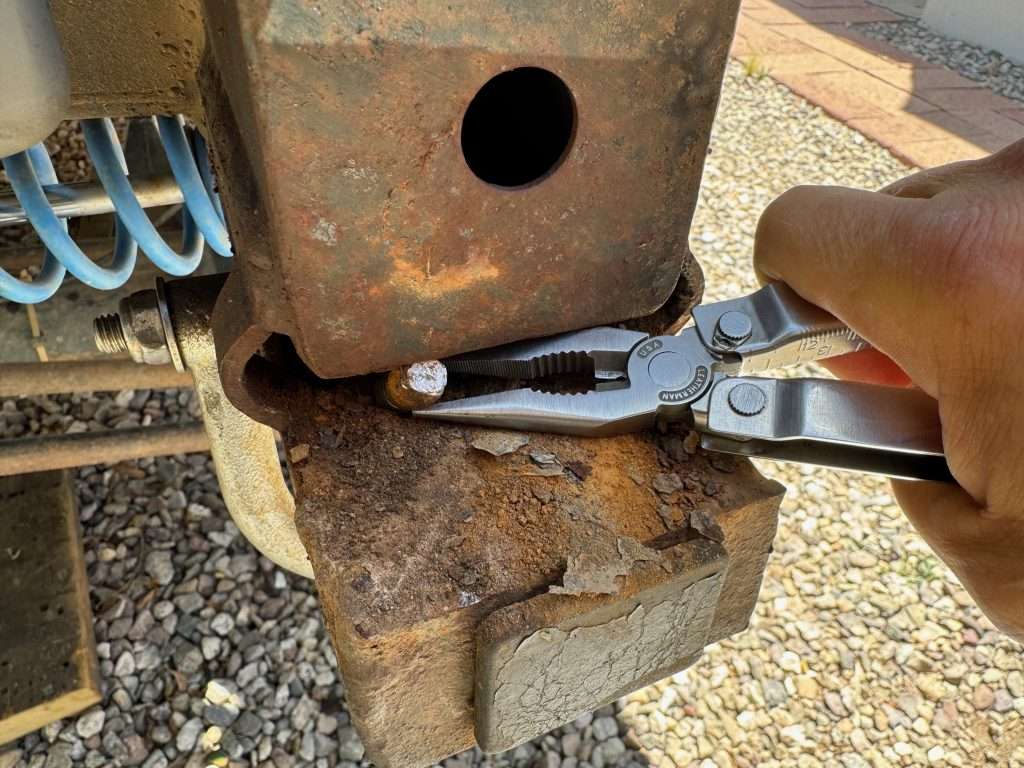
Wrestling with a broken bolt
I spent the better part of an hour twisting and contorting the nut-plate using a pair of pliers, trying to find the best orientation for its removal. The worst-case scenario was that I would have to cut the broken bolt off, and I had good access to the fragment to do so, but it ended up not being necessary.
With a determined tug, I finally managed to remove the plate.


The bumper removal should’ve take 15 minutes at most, but I spent considerably more time wrestling with the broken bolt. This is the way.
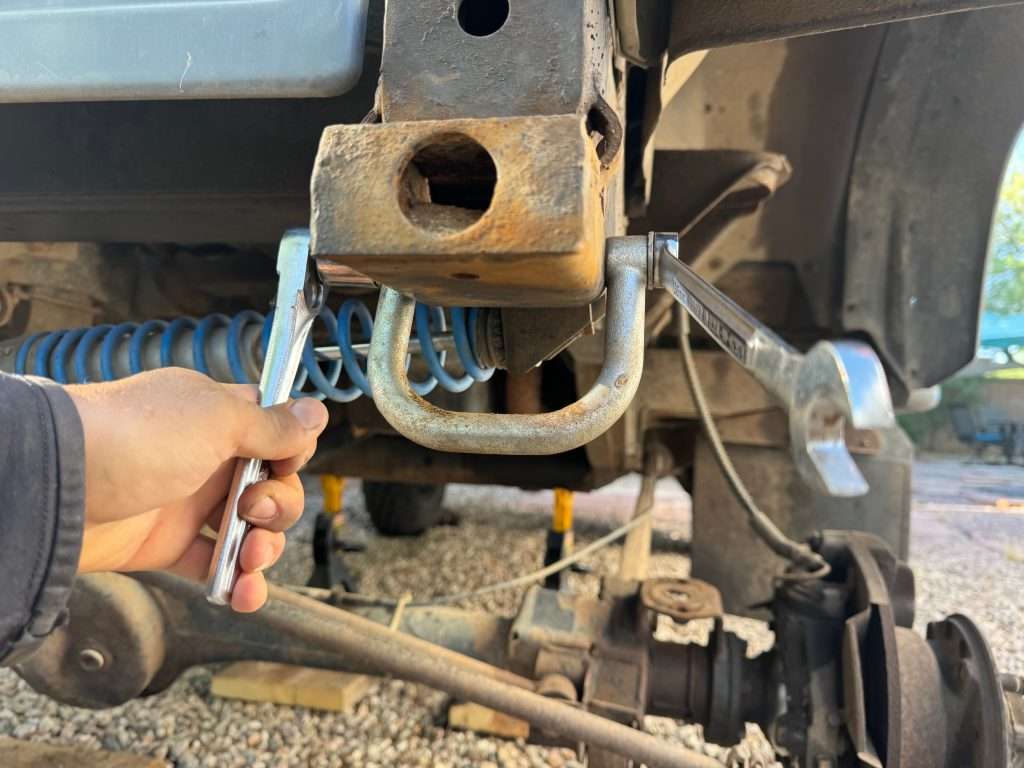
The final step
One last step to remove the two tow-rings that I installed under the front bumper a couple of years ago, because the forthcoming winch bumper will utilize these mounting holes for additional reinforcement.
Now we’re ready for the new bumper.